Webmin is a web-based interface for system administration for Linux-based servers. It’s one of the most popular open source hosting control panels. In this tutorial, we are going to show you how to install Webmin on a Linux VPS running CentOS 7 as an operating system.

The administration username which you can use to sign in is set to
Of course, you don’t have to do any of this if you use one of our Webmin VPS hosting services, in which case you can simply ask our expert Linux admins to install and set up Webmin on your server for you. They are available 24×7 and will take care of your request immediately.
PS. If you liked this post please share it with your friends on the social networks using the buttons below or simply leave a comment in the comments section. Thanks.

Update your system
Connect to your Linux server via SSH and update all the currently installed software to the latest version available using the command below:# yum -y updateYou can also enable automatic updates. You should always keep your server up to date.
Download and install the RPM version of Webmin
To download Webmin, please visit the Webmin download page and check for the Webmin RPM package. The RPM package is suitable for any RedHat, Fedora or CentOS system. To download the package you can usewget.# wget http://prdownloads.sourceforge.net/webadmin/webmin-1.831-1.noarch.rpmIn order to proceed with the installation, you need to make sure that all dependencies are installed on your CentOS VPS. If they are not installed you can install them using the command below:
# yum -y install perl perl-Net-SSLeay openssl perl-IO-TtyOnce the dependencies are installed, you can install Webmin using the following command:
# rpm -U webmin-1.831-1.noarch.rpm
Install Webmin using the YUM repository
Another way to install Webmin is by using the official YUM repository. First, create awebmin.repo file:# nano /etc/yum.repos.d/webmin.repoAdd the following content to the file and save it.
[Webmin]
name=Webmin Distribution Neutral
#baseurl=http://download.webmin.com/download/yum
mirrorlist=http://download.webmin.com/download/yum/mirrorlist
enabled=1
Then, fetch and install the GPG key which is used to sign the Webmin packages:
# wget http://www.webmin.com/jcameron-key.asc
# rpm --import jcameron-key.asc
Finally, install Webmin and all the dependencies using the following command:
# yum install webmin
Start Webmin and enable it on system boot
To start Webmin, you can use the following command:# service webmin startTo enable Webmin on system boot use the following command:
# chkconfig webmin onWebmin allows you to set up user accounts, configure the Apache web server, manage DNS, configure the Postfix mail server, configure the Dovecot IMAP and POP3 mail server and many other things. It has a list of standard modules which you can install and use for your own purposes.
Accessing Webmin
To access Webmin, open your favorite web browser, enterHTTPS as protocol, enter your server IP address and use 10000 as a port number.https://YOUR-IP-ADDRESS:10000By default, Webmin uses a self-signed SSL certificate so your web browser will warn you that the connection is not secure. You can accept the self-signed SSL certificate and proceed to the log in screen.
The administration username which you can use to sign in is set to
root
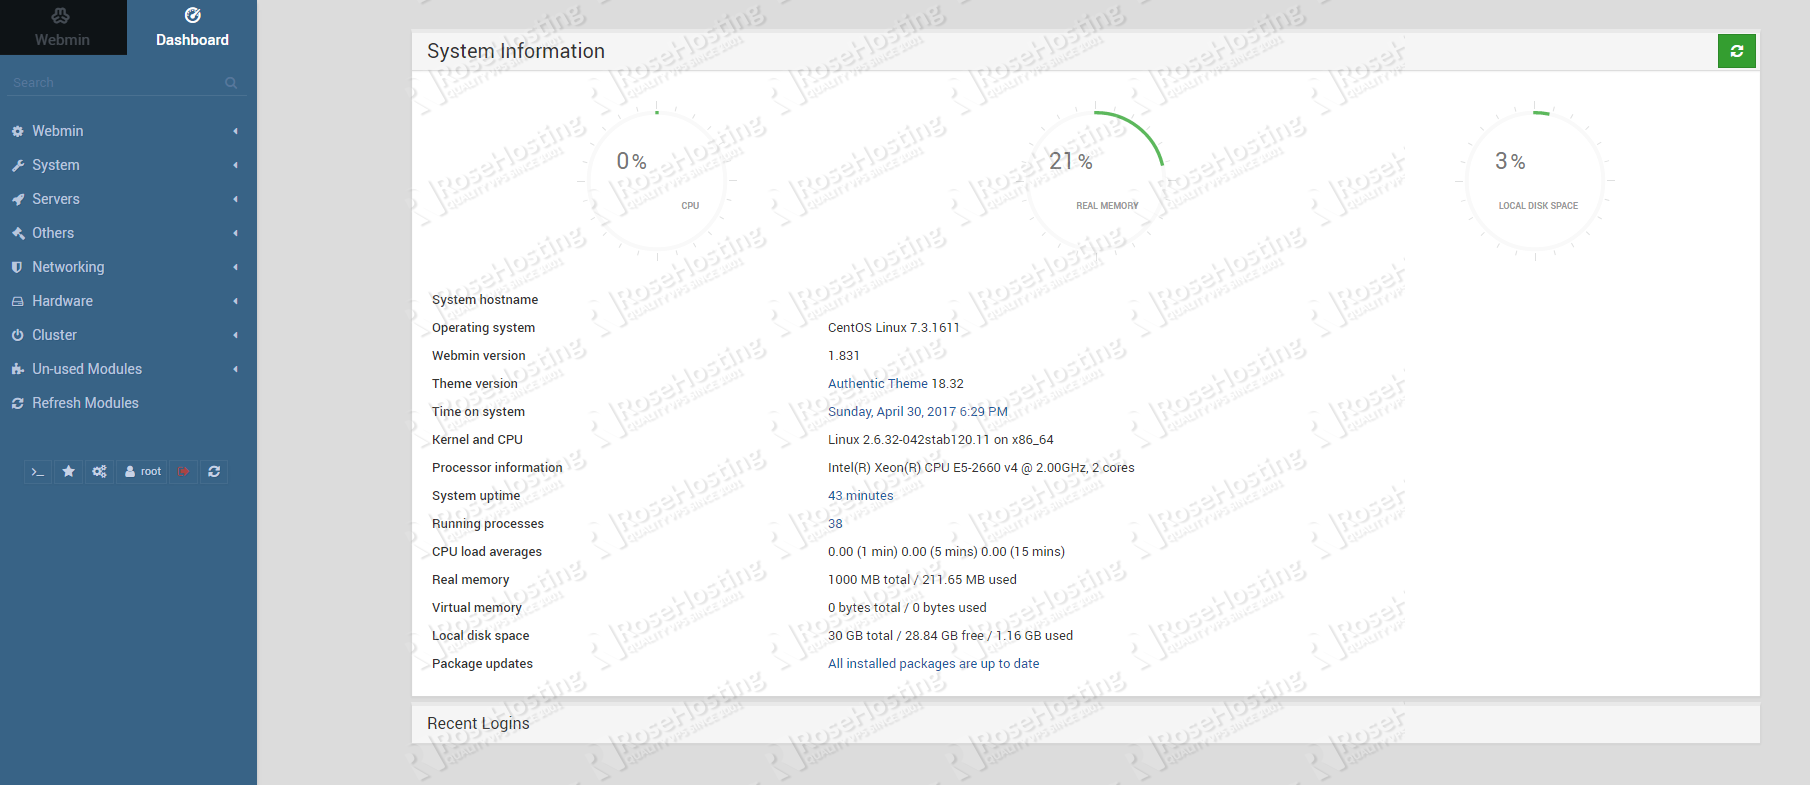
and the password is your current root password. In the Webmin
dashboard, you can see some basic information about your system and
recent logins. The modules and services which you can manage through
Webmin are listed on the left panel.Of course, you don’t have to do any of this if you use one of our Webmin VPS hosting services, in which case you can simply ask our expert Linux admins to install and set up Webmin on your server for you. They are available 24×7 and will take care of your request immediately.
PS. If you liked this post please share it with your friends on the social networks using the buttons below or simply leave a comment in the comments section. Thanks.
This comment has been removed by the author.
ReplyDelete